How to Change Wi-Fi on Your HP Printer | Step-by-Step Guide 2025
Are you sick of your HP printer being on the wrong Wi-Fi network? Never mind, it happens to me too sometimes.
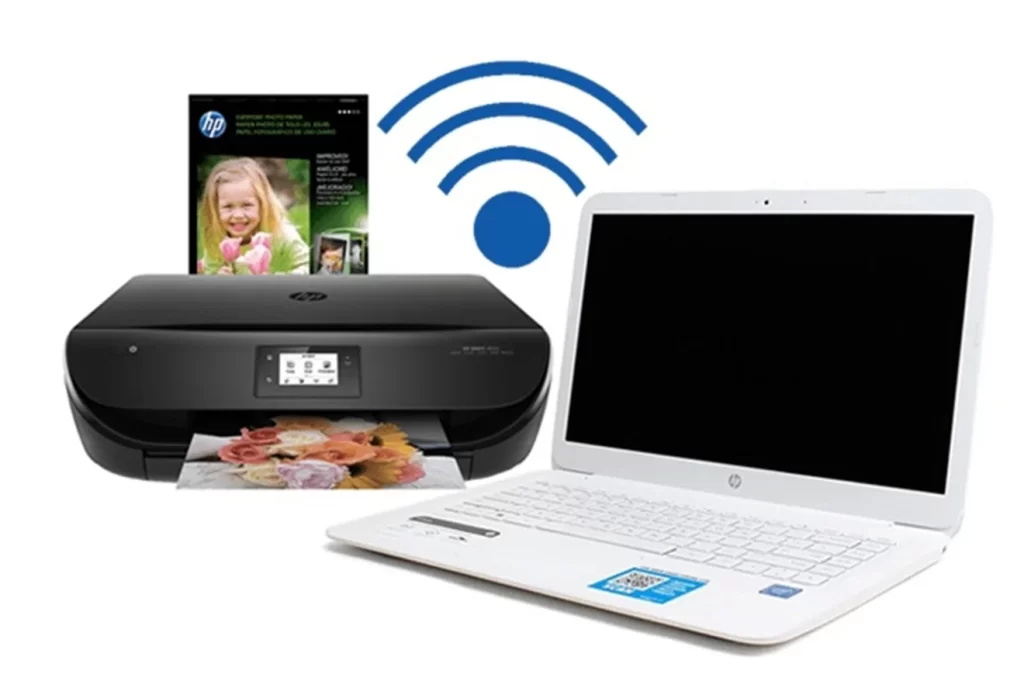
With the popularity of modern Wireless networks, many IT industries prefer to use Wireless printers. Many printers are available in the market but the HP printers are ruling over all.
However, the network environment adapts to advanced technology over time by changing routers, mobile devices, and Wi-Fi networks. Many people find it difficult to connect their HP printer to a new Wireless network.
If you have shifted to a new area switched internet service providers or even changed the password of your wireless connection; learning how to change Wi-Fi on your HP printer is crucial for effective printing.
Well, here is the good news – it’s simpler than it sounds and this guide will help you understand how to do it!
Table of Contents
Method 1: Use the HP Smart App
The HP Smart App is available for mobile phones (Android, iPhone) and computer devices. It’s your best friend for an easy setup.
This app is not only used to change Wi-Fi but also to monitor the printer status (scan documents, number of printing copies). Follow these steps to reconnect:
- Download the App: Find the HP Smart app on your device’s app store or at HP’s official website. At the same time, ensure your device is connected to the same Wi-Fi network that you want to connect to your printer.
- Reset Network Settings: On your printer’s control panel, go to Network > Restore Network Settings to clear previous settings. This step will remove the current Wi-Fi network information from your printer.
- Follow the App Setup: Open HP Smart, add your printer and follow the prompts to connect it to the new Wi-Fi network. The app will automatically look for printers and select Add Printer. If it does not recognize your printer, hit the “+” sign in the interface to add it.
- Change the Wireless Network Settings: After successfully adding your printer, click the printer icon to open the printer settings page. Then, click Network Settings or Wi-Fi Settings follow the prompts to create a new Wi-Fi network, and enter your password. The final step is to wait for the connection to complete.

Method 2: Using the Printer’s Control Panel (for Touchscreen Models)
Many modern HP printers feature an easy-to-use touchscreen interface. This allows customers to change numerous parameters straight from the printer device.
This method is easy, simple, and quick to use, making it perfect for advanced HP printers used at home or in the office. If your printer has a touchscreen, here’s how to connect it manually:
- Open Wireless Settings: Open the touch screen of your HP printer. From the control panel, go to Wireless Settings.
- Wi-Fi Setup Wizard: Select the Wireless Setup Wizard or a Wireless Direct. It will scan for nearby networks. Choose your network name from the list of available networks.
- Enter Wi-Fi Password: Find your Wi-Fi network, carefully type your password and connect. Wait for the connection to finish, and the printer will display a successful connection message.
This method keeps things straightforward, especially if the app setup isn’t your style.

Method 3: USB Connection (Non-Touchscreen Models)
For HP printers that don’t have a touchscreen or a control panel, the procedure of changing WiFi settings is slightly more complicated. This is because you cannot do graphical settings on the HP printer itself.
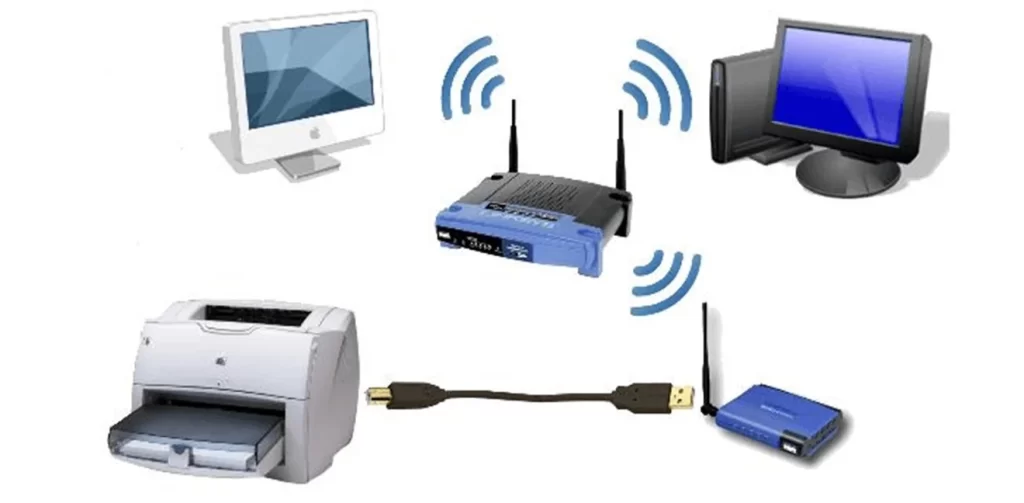
However, it is still possible to configure the printer to a new WiFi network via a computer while using a USB port. Use a USB cable to temporarily establish a connection between the printer and a computer.
This is then replaced by HP’s official software/control panel of the printer via the WiFi of the printer. Here are the detailed steps.
- Use HP Software: Download the latest HP printer drivers and software on your computer. You can visit the official website of your printer’s manufacturer or the official website of HP for installing drivers.
- Connect Printer to Computer: Connect one end of the USB cable to the USB port of your HP printer and the other end to an empty USB port on your computer. Turn on the printer and ensure it is in the ready state.
- Select WiFi Network and Enter Password: Launch the downloaded driver and software to access the printer configuration menu. Then find the right options for network or wireless settings. In the pop-up box, choose Wireless Connection as the connection method, then manually enter the new WLAN SSID and password.
- Set Up Network: Follow the setup assistant in the software to link your printer to the new Wi-Fi network.
Method 4: WPS (If Router Supports It)
Using WPS results in connecting HP printers on your home or office network without entering complex network passwords. It is useful for cases where a user neither typing a password nor requires to switch between networks frequently.
If your router and printer support WPS, you can connect quickly without much hassle.
- Press the Wireless Button: Hold down the Wireless button on your printer until it starts blinking.
- Activate WPS on the Router: Press the WPS button on your router within two minutes.
- Testing the Connection: Once connected, print a test page to confirm the Wi-Fi network is all set.

Tips to Connect Your HP Printer to New Wi-Fi Network
Here are a few handy tips for reconnecting your HP printer to a new Wi-Fi network:
- Ensure a Strong Signal: Place your printer close to the router to ensure a stable connection, especially during setup.
- Update Printer Firmware: HP regularly releases firmware updates that improve connectivity, which can be installed via the HP Smart App.
- Avoid USB if Possible: While a USB setup can work, it’s slower and less reliable than wireless options for ongoing use.
Conclusion
It is not so complicated to change the Wi-Fi of your HP printer! By following the above easy methods with the right approaches, you will be back online and ready to print from anywhere in your home.
It is very easy to connect your printer and your computer, be it through the HP Smart App, the touch screen on printers, or even the WPS button.
Well done, now that you’ve upgraded your network next time it won’t be so difficult to start reconnecting. Happy printing, and enjoy the freedom of a wire-free setup!
