
How to Clean DTF Printer Head [Step-by-Step Guide 2025]
Direct-to-film (DTF) printers require the print head to be in optimal condition to produce rich and uniform colors on film for heat transfer. Cleaning your DTF printer head is very important to get good performance and more ROI for printing enterprises instead of spending much money on repair.
This guide will walk you through How to clean the DTF printer head, ensuring your prints stay sharp and professional. By the end of this guide, you will have the know-how to keep the DTF printer head in tip-top condition.
Blocked nozzles give rise to uneven application, banding, and overall print quality losses. If you see lines in your prints, prints missing colors, or prints that appear blurry, this is an indicator that it’s time to clean your DTF printer head.
Don’t worry you’re not alone. Many printing enthusiasts face it. But theprinterexpert.com is here to help you deal with clogged nozzles and to fix them with ease easily.
Table of Contents
What is a Print Head?
Before I go into explaining how to clean a DTF printer head, let me first define what a print head is. It is a part of a printer that is used to apply ink on the substrate, which can be fabric or paper. A print head with small nozzles pumps ink out to create an image or text.
Some of the print heads include the piezoelectric, the thermal, and others. The quality and condition of the print head determine the printing performance and the print quality. A clean print head helps to avoid DTF printing problems like streaks and lines on the print product.
Why Cleaning Your DTF Printer Head Important?
The printer head is the heart of your DTF printer. Over time, it can get clogged with dried ink, dust, and debris. Regular cleaning prevents these clogs, ensuring your printer operates smoothly and produces high-quality prints. You need to pay attention to its maintenance to avoid costly repairs and downtime.
Before You Begin:
- Safety First: Wear gloves and eye protection when handling cleaning solutions. These solutions can be harsh for your skin and eyes.
- Gather Your Supplies: You’ll need a DTF cleaning solution (consult your printer manual for the recommended brand), lint-free cloths, syringes, alcohol swabs (isopropyl alcohol), and maybe some foam swabs for tricky nooks and corners.
- Consult Your Manual: Different DTF printer models may have slight variations in the cleaning process. Refer to your specific printer’s manual for detailed instructions.
Signs of a Clogged Printhead
To check whether your printer head requires cleaning or not, be aware of the signs of clogged printhead. Ignoring these signs will further damage your printing machine and affect its longevity. The top signs of clogged printhead are:
- Streaky and Faded Prints: If your prints are coming out with dull or faded colors, it means some colors are not printing as they should. Unwanted lines or streaks across the print indicate that some nozzles are blocked and not dispensing ink correctly.
- No Ink or Light Ink Output: When performing a test print, if certain colors are not printing at all or are printing very lightly, this usually suggests that those specific nozzles are clogged and preventing ink from flowing through.
- Impurity in DTF Ink: The quality of ink matters a lot to the proper functioning of an inkjet printer. Impurities in ink build up in the ink cartridges and clog the nozzles to cause blockage. For proper ink flow clean and high-quality DTF inks are recommended.
- Printing Gaps: Gaps or white lines across your prints indicate that some nozzles are not ejecting ink. This can be particularly noticeable in high-resolution prints where precision is critical.
- Printhead Damage by Overuse: Overuse of any gadget makes it prone to tech issues. Inkjet printers become damaged over time from wear and tear and improper use. Its nozzles become clogged or cause uneven ink flow, leading to poor quality.
- Missing Lines or Dots: Partial images with sections completely missing are another red flag. Clogged nozzles result in specific areas of the print receiving no ink at all.
- Incorrect color output: If the printed colors don’t match the colors on your screen, it might indicate a problem with the ink mixing or distribution within the print head. Clogged nozzles of the printhead disrupt the intended color flow.
Methods to Clean DTF Printer Head
Keeping your printer’s print head clean is essential for maintaining optimal print quality and preventing clogs. Here are three effective methods to clean a print head, remove debris, maintain the nozzles, and ensure consistent printing.
Method 1: Manual Cleaning with a Cleaning Solution
Manual cleaning makes you feel so good and satisfied. This method involves a cleaning solution and a soft cloth to gently clean the printhead.
Steps:
- Ensure the printer is powered off and unplugged for safety.
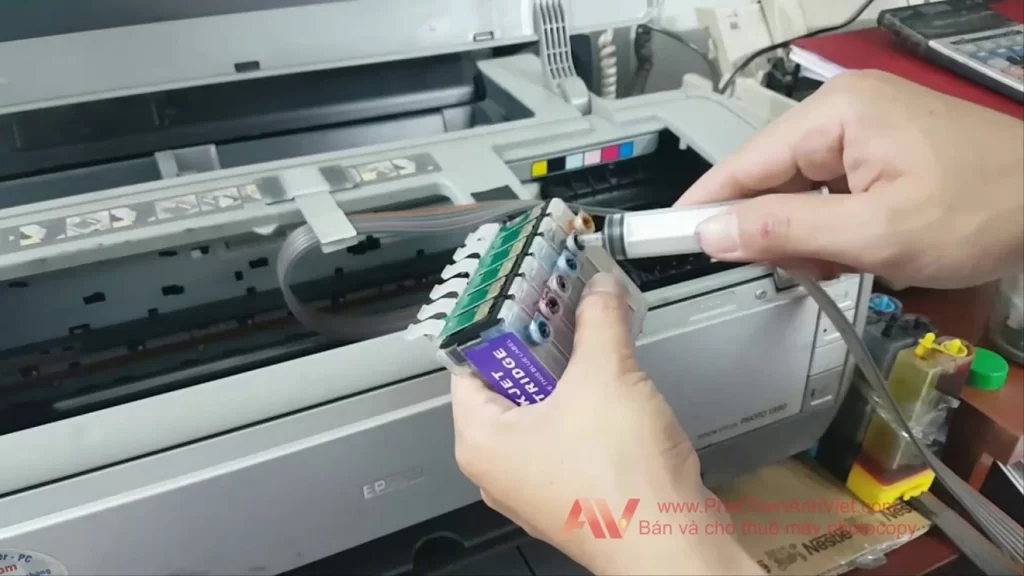
- Now, remove the print head. Consult your printer’s manual for instructions on how to remove the print head. This process varies by model.
- Put a few drops of the cleaning solution on a soft lint-free cloth.
- Clean the print head with a soft cloth in a sweeping motion and make sure all areas are covered.
- Do not apply too much pressure because this could be damaging to the print head.
- Continue the process when needed until the cloth does not accumulate ink particles anymore.
- Let the printhead dry for approximately one hour before replacing it.
Tips for Effective Cleaning:
- Clean the printer in a well-ventilated room to prevent dust or other particles from getting on the print head.
- Follow the cleaning process regularly to keep the printheads in good working condition.
- If the cloth gets too dirty with the ink during the cleaning process, throw it away and use a new one to prevent retransfer of the ink onto the print head.
Method 2: Manual Cleaning with a Distilled Water
As an alternative cleaning solution, manual cleaning with distilled water is an effective method to unclog the print head. Following is the step-by-step process of this method:
Steps:
- Ensure your printer is turned off and unplugged from the power source for safety.
- Follow your printer’s manual to safely remove the print head. This process varies by model, so consulting the manual is crucial.
- Fill a shallow dish with distilled water. The water should be at room temperature or slightly warm (not hot).
- Carefully submerge only the nozzle area of the print head in the distilled water. Avoid immersing the electronic parts. Let it soak for about 10-15 minutes to help dissolve any dried ink.
- While soaking, gently agitate the print head by moving it back and forth in the water. It helps dislodge any firm clogs.
- After soaking, lift the print head out of the water and use a clean, lint-free cloth dampened with distilled water to wipe away any remaining ink residue.
- Allow the print head to air dry completely. Place it on a clean, dry cloth or paper towel in a dust-free environment.
- Once the print head is completely dry, reassemble it back into the printer according to the manual’s instructions.
- Turn the printer back on and perform a test print to ensure the cleaning process is done and the print quality has been restored.
Tips for Effective Cleaning:
- It is advisable to use distilled water rather than tap water as this may corrode the print head.
- Be careful not to submerge the electronic components of the print head in water to prevent damage.
- Do not leave the print head submerged in water for too long, as this can lead to internal corrosion.
Method 3: Using Isopropyl Alcohol
Isopropyl is an effective cleaning agent used for cleaning printer heads. This is especially used to remove firm ink residues stuck in nozzles.
Steps:
- Start by referring to your printer’s manual for instructions on how to safely remove the print head. This step varies by printer model.
- Use 90% or higher isopropyl alcohol. Pour a small amount into a shallow dish.
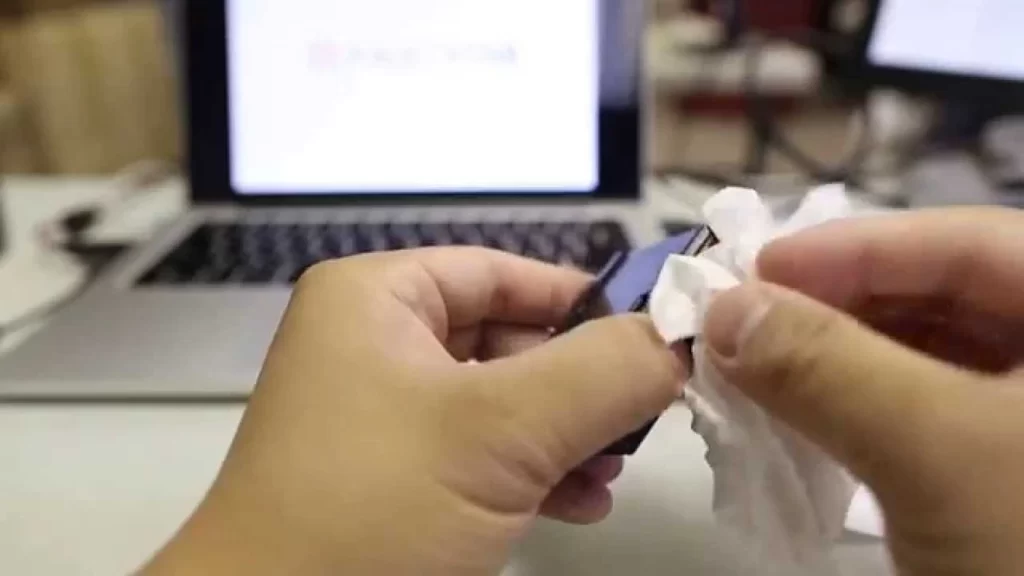
- Moisten a lint-free cloth or paper towel with the isopropyl alcohol. It should be damp but not soaking wet.
- Gently wipe the nozzles of the print head with the dampened cloth. Apply gentle pressure to avoid damaging the nozzles.
- For more stubborn clogs, you can place the print head nozzles directly in the shallow dish with isopropyl alcohol. Let it sit for 2-5 minutes.
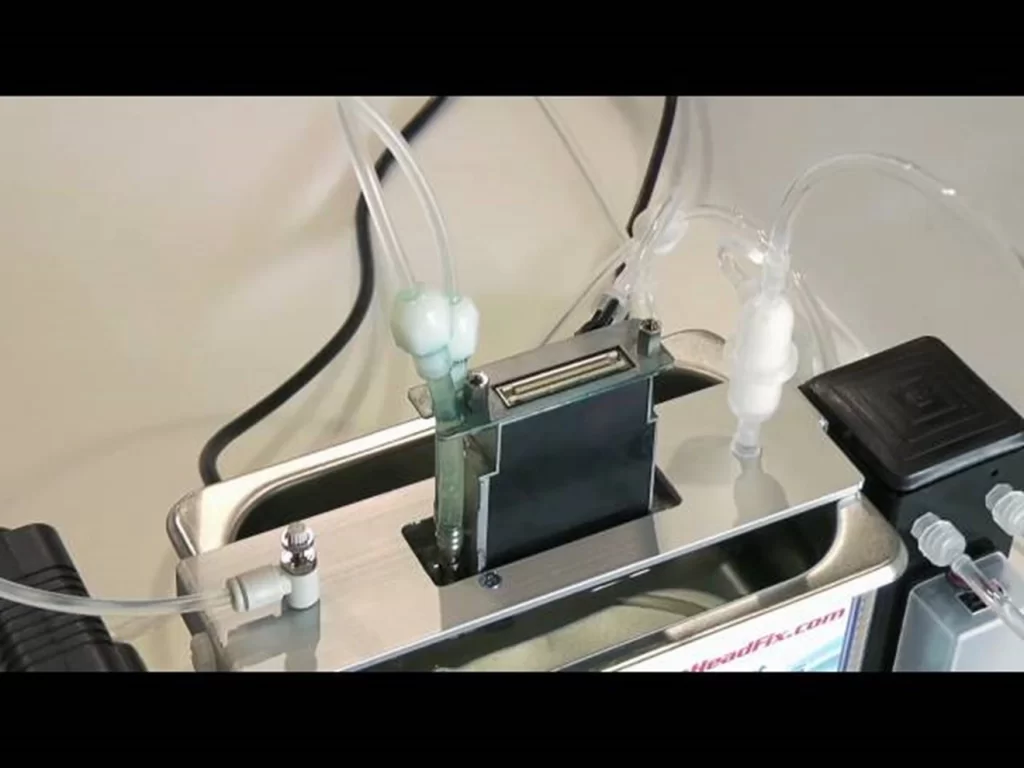
- For deeper cleaning fill a syringe of 10 milliliters with alcoholic solution. Attach a small flexible tube to the syringe. That’s an optional step.
- Carefully attach the tube to the print head nozzle and gently push the solution through. It helps dislodge more fixed clogs.
- After cleaning, rinse the print head with distilled water to remove any residual alcohol. Use a clean, lint-free cloth dampened with distilled water to wipe the nozzles.
- Allow the print head to air dry completely. Place it on a clean, dry cloth or paper towel in a dust-free environment.
- Once the print head gets completely dry, reassemble it back into the printer according to the manual’s instructions.
Tips for Effective Cleaning:
- Make sure the isopropyl alcohol is at least 90% pure for it to clean effectively.
- Do not use rubbing alcohol or any other alcohol-based product containing additives as these harm the print head.
- Ensure no isopropyl alcohol or distilled water residue remains on the print head before reinstallation.
Preventive Maintenance Tips
- Make it a habit to clean the printer head regularly, especially if the printer is used frequently.
- Invest in high-quality inks recommended by the printer manufacturer to minimize clogging and printer head jamming.
- Keep your printer in a clean, dust-free environment to reduce the amount of debris that can cause clogs.
- For heavy users, perform a quick daily cleaning routine to ensure optimal performance.
- Don’t let the printer sit idle for long periods, as it may cause the ink to become dry and then clog the nozzle.
- Do a nozzle check regularly to ensure there is no blockage of nozzles that will have an impact on the print quality.
- Keep ink cartridges in their original packaging and at room temperature to prevent leakage or drying, which can result in clogging.
- Handle the printer with care according to the manufacturer’s installation instructions. Rough handling or incorrect ink cartridge installation might harm the print head, resulting in clogs or other issues.
When You Have to Consider a Replacement?
With daily DTF printer maintenance, you can extend the life of your print head. But eventually, there comes a time when replacement is needed. Here are some signs that indicate it might be time to replace your printer head:
- Streaks and Lines: If you consistently see streaks or lines on your prints even after multiple cleaning cycles, the nozzles might be damaged beyond repair.
- Inconsistent Print Quality: When certain colors are missing or prints appear faded despite thorough cleaning, it could indicate worn-out nozzles that can’t deliver ink properly.
- Visible Damage: Any visible cracks, chips, or damage to the print head itself are clear indicators that it needs replacement. Over time, nozzles become corroded or worn out, especially if incompatible or poor-quality ink is used.
Replacing the Printhead? Be Mindful!
Well, you have decided to replace the printhead. Before getting into it, be mindful about the following factors:
Cost: Replacing a printhead can be expensive. Consider the cost of the replacement part and the potential for repairs or upgrades. Do a prior comparison of cost vs benefits you will get in print quality and longevity.
Warranty: If your printer is still under warranty, the manufacturer may cover the cost of replacing the printhead. You must have to contact the manufacturer before going for a replacement.
Printer Model: Make sure the printhead is readily available for the specific printer model you’re using for printing projects.
Conclusion
Cleaning your DTF printer head is not as complex as you may think. Proper cleaning and preventive measures will help you to keep the DTF printer head clean and ensure that the quality of prints for your projects is high and sustainable.
If you find that these issues persist or you want to know more about cleaning your particular printer model, refer to your manual or contact the support services of the brand of printer that you use.