Pretreated Shirts for DTG Printing [Explained Guide 2025 ]
When it comes to custom apparel, two methods are at the top: DTF and DTG printing. If you are a fan of printed t-shirts, you must know DTG printing is the best way to go for precise and high-quality prints. However, behind the scenes, the key to exceptional prints lies in the often-overlooked process of pretreating shirts.
For many beginners and even seasoned printers, the pretreatment process can be a hurdle. Mixing chemicals, ensuring even application, and avoiding waste can all add time and mess to your workflow.
But pretreated shirts for DTG printing made it easy for owners to carry out complex designs with simple procedures. With ease of use, they can fulfill the customer demands.
If you have just bought a DTG printer and want to learn how to pretreat shirts, this post will shed light on all you need to know about DTG pretreatment, its importance, and its application technique. Without further ado, let’s start:
Table of Contents
What are Pretreated Shirts for DTG Printing?
Pretreated shirts for DTG printing refer to garments that have undergone a specialized pretreatment process before being printed. In this procedure, a water solution is applied to the fabric surface making it possible to absorb the ink well and providing high-quality and durable prints.
Pretreatment is essential in ensuring maximum color strength, sharp detail, and enhanced wash resistance in DTG prints. It serves as a primer for the ink to hold on to the fabric and leads to quality images that sustain their beauty even after many washes.
So this pretreated apparel is the sheet onto which DTG printer machine paint their magic and turn an empty shirt into a one-of-a-kind pattern that people will want to wear.
How to Pretreat Shirts for DTG Printing?
Pretreated shirts for DTG printing are best to get long-lasting prints. Before you start the printing process, gather your supplies. You’ll need a pre-treatment solution (choose one compatible with your ink and fabric), a spray bottle, a heat press, parchment paper, a well-ventilated workspace, and gloves (optional).
Different pre-treatments are available for various fabrics and ink types. Do your research and choose one specifically formulated for your DTG ink and garment. Read the manufacturer’s instructions carefully for specific ratios, application methods, and curing times.
Lay the shirt flat on a clean, dry surface. Ensure it’s free of wrinkles, stains, and any residue. Preheat the heat press to the recommended temperature mentioned in the pretreatment instructions. Now start the pretreatment process by following the steps below:

- Apply the Pretreatment Solution
Fill your spray bottle with the DTG pretreatment spray. Start spraying from a distance of 8-12 inches, moving the sprayer in even strokes across the entire printable area. Pay close attention to seams and folds for even coverage. Mist the shirt evenly with a light, consistent layer of pre-treatment, avoiding soaking.
- Heat press the Shirt
After applying the pretreatment solution, use a heat press to dry and activate it. Set the heat press to the recommended temperature and time specified by the pretreatment solution manufacturer.
- Cure and Cooling
Once heat-pressed, cure the pretreatment solution using a conveyor dryer. Cover the shirt with a Teflon sheet or parchment paper and then press for 5 seconds. Set the shirt to cool completely before proceeding with DTG printing. It prevents smudging or distortion of the pretreatment layer during the printing
Importance of Pretreatment Solutions for Shirts
Improved Wash Fastness
Pretreatment helps to create a bond between the ink and fabric to enhance the durability of the print. This results in improved wash fastness. So, don’t worry your designs will stay vibrant even after multiple wash cycles.

Crisp and Sharp Detail
The application of pretreatment prepares the fabric surface to print on sharper and more detailed prints. This is especially important for complex designs and fine lines that may be lost without proper pretreatment. A pretreatment solution acts as a primer for your shirts, without this your shirt will fade away.
Boosts Print Quality
Pretreatment is like giving your shirt a perfect foundation. It helps the ink sit beautifully on the fabric, making the colors pop and the design look clean and vibrant. Without it, prints can end up looking dull or uneven.
Prevent Ink Bleeding
Ever had a design that looked like the ink bled or blurred? Pretreatment helps lock the ink in place, so it doesn’t spread. This keeps every detail sharp and clear—just the way you imagined it!
Essential for White Ink
When using white ink in DTG (Direct-to-Garment) printing, pretreatment is a must. It acts as a base layer to ensure that white ink stays vibrant and doesn’t get absorbed by darker fabrics, which could result in a washed-out look. This way, your white designs stay bold and bright, rather than looking faded or washed out.
Types of Pretreatment for Shirts
There are two main types of pretreatment for DTG printing on t-shirts:
Dark Pre-Treatment
This is a more opaque pre-treatment specifically designed for dark-colored shirts. It creates a solid white base for vibrant colors and sharp details. It’s essential for designs with a lot of white or light colors, logos, or intricate details. When using dark pre-treatment, you’ll also likely need to solve the white ink problem to print any white elements in your design.
Light Pre-Treatment
This is formulated for use on dark-colored shirts with lighter designs. It provides a base for the ink to adhere to while maintaining some transparency. When you treat your color tees, the design clearly pops up on dark fabric to show through slightly. This can be a good choice for designs with a vintage or distressed look.

Application Techniques for DTG Pretreatment Solution
There are various methods for applying pretreatment to shirts. The method choice depends on the fabric type and the production volume. Regardless of technique, the goal remains the same – to achieve an even and consistent layer of pretreatment across the garment. A few common application techniques are the following:
Hand Spraying Method
This is an old and manual way of pretreated shirts for DTG printing. First, keep the shirt under a heat press to remove moisture and smooth out the surface for pretreatment. The clothing should lie on a level and flat surface.
Now, start with a light sprinkling across towards the left upwards and proceed downward. Remember printing the whole t-shirt is not needed, only the part of the shirt that your design requires
In some cases, the pretreatment solution is applied with the help of a sponge or brush. It may result in uneven coverage if not applied carefully. In addition, use the solution appropriately and ensure that no part remains wet.
The next step is spraying straight lines unless the content of the box exceeds it. Then use a roller to apply the solution. It will iron out the fibers in the fabric in case they might occur during pretreatment.

Automatic Pretreatment Machines
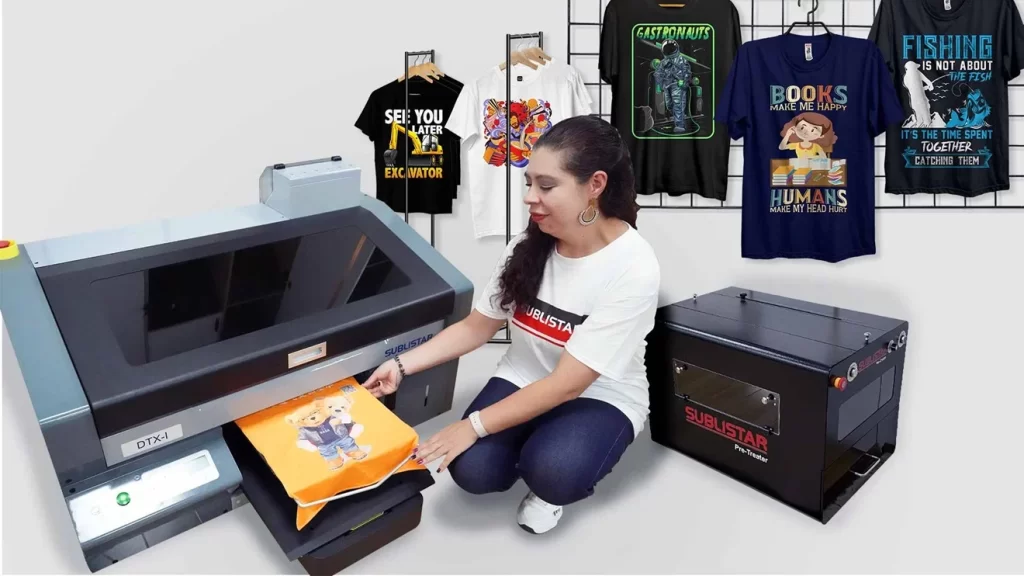
The simplest and quickest option is to use an automated DTG pretreatment machine. It will enclose the area of the t-shirt that is directed to pretreatment. The process starts from this machine with a press of a button. You then get the amount needed to spray at the spot.
Automation has also progressed in the process to laser guide systems and some pretreat machines even save settings for each type of garment. If using a pretreat machine, adjustment will be on the width of the spray pattern and solution use. In addition, ensure that the machine is clean and after every use; it must be maintained.
The key benefit of using this method is it processes faster than manual pretreatment and uses controlled strains. But one drawback is that for startups it can be a little expensive. However, when your productivity goes up it becomes much more convenient and time-saving.
Wrapping-UP
Pretreated shirts for DTG printing make the process more convenient and consistent. Pretreatment solution acts as a base for stunning and long-lasting prints. By understanding how to pretreat shirts and choosing the right application technique, you can save time to focus on custom garment printing.
